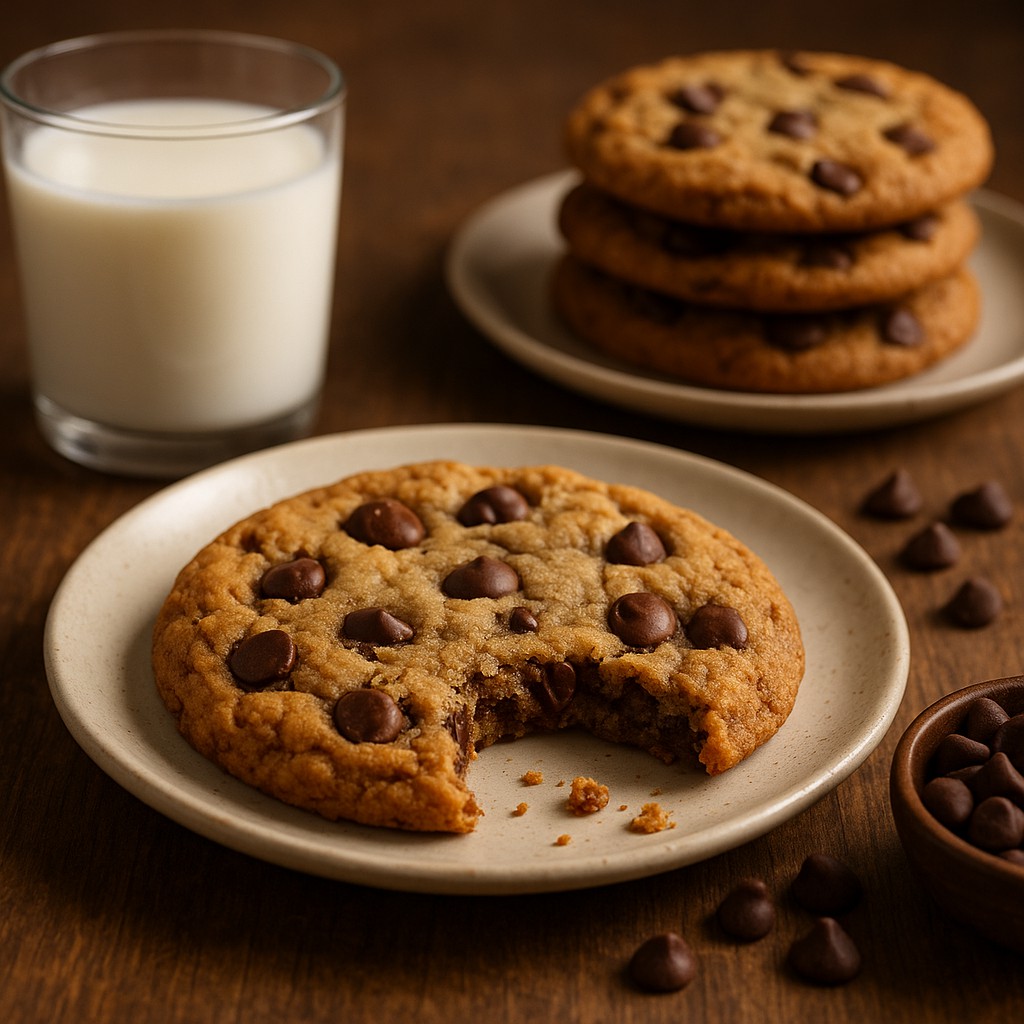
We have all been there: standing in the kitchen with a glass of cold milk and a plate of cookies that simply didn't live up to the dream. Perhaps they were too cakey, more like dry biscuits than indulgent treats, or maybe they spread so thin on the pan that they merged into one giant, crispy sheet of disappointment. Hunting for the perfect chocolate chip cookie isn't just about following the instructions on the back of a bag of chips. It is a journey into the satisfying world of chemistry, physics, and patience. When you bite into a truly great cookie, you are tasting what happens when temperature control and the behavior of fats and sugars work in perfect harmony.
To master this craft, you have to move beyond just following a recipe and learn to "read" your dough. You need to understand how a single extra egg yolk can change the structure of your snack, or how your choice of sugar determines whether a cookie is crunchy or chewy. This process is about more than just satisfying a sugar craving; it is about turning your kitchen into a joyful laboratory. By the time you finish this guide, you will have the secret knowledge needed to bake cookies so consistently delicious that your neighbors might ask if you secretly went to pastry school in Paris.
The Architecture of Flavor and Texture
Before you even turn on the oven, you must realize that every ingredient in a cookie does two things: it adds flavor and it serves a physical function. Flour is the skeleton, providing the protein structure (gluten) that keeps the cookie from collapsing into a puddle of oil. However, the real magic lies in the relationship between fat and sugar. Butter is the go-to fat because it offers a rich flavor and a low melting point, which creates that "melt-in-your-mouth" feeling. As butter melts in the heat, it allows the dough to spread, while the water inside the butter turns to steam, helping the cookies rise.
Sugar does much more than provide sweetness; it is a structural workhorse. Plain white sugar absorbs moisture, which helps create a crispier texture and encourages the dough to spread. Brown sugar, however, contains molasses. This adds a deep, toffee-like flavor and keeps the cookie soft and chewy because it holds onto moisture during baking. If you want a cookie that is crispy on the edges but soft in the middle, a careful balance of both sugars is your ticket to success. Even salt, which many beginners overlook, is vital because it cuts through the heavy sweetness and brings out the complex notes of chocolate and vanilla.
The Science of Browning
To bake the best chocolate chip cookies ever, you need to understand the Maillard reaction. This is the chemical reaction between proteins and sugars that gives browned food its savory smell and deep flavor. It is the reason a seared steak smells better than a boiled one, and why a golden-brown cookie tastes much better than a pale, underbaked one. When your oven hits about 330 degrees Fahrenheit, the magic starts. The sugars and proteins in your dough begin to rearrange, creating hundreds of new flavor compounds that we describe as "toasty" or "nutty."
Caramelization is a similar process that happens when sugars break down under high heat. While the Maillard reaction involves proteins, caramelization is all about the sugar itself. This process starts at a slightly higher temperature and creates the deep butterscotch notes that separate a professional bake from a store-bought snack. By controlling your oven temperature and baking for just a minute or two longer than you think you should, you let these chemical processes reach their peak. This is why "blonde" cookies often taste flat, while deep golden ones are bursting with flavor.
Choosing Your Ingredients Wisely
If you want your cookies to be legendary, you cannot settle for average ingredients. The quality of your chocolate is the most important factor you can control. Standard semi-sweet chips are convenient because they hold their shape, but they often contain wax and stabilizers that prevent them from melting into smooth pools. Switching to high-quality chocolate bars that you chop by hand will change everything. Chopping creates different sizes: large chunks that stay gooey and tiny "chocolate dust" that streaks through the dough, making sure every bite is full of cocoa.
The choice of butter is just as important. European-style butters usually have more fat and less water than standard supermarket brands, leading to a richer flavor and a more tender texture. Some bakers prefer "browning" their butter before mixing it. By melting butter in a pan and simmering it until the milk solids turn golden and smell like toasted hazelnuts, you pack the dough with flavor. This step removes the water and intensifies the fat, creating a cookie that tastes like it was aged in caramel.
| Ingredient |
Role in the Cookie |
Effect on Final Result |
| White Sugar |
Sweetness and air |
Creates crisp edges and helps dough spread |
| Brown Sugar |
Moisture and depth |
Adds chewiness and butterscotch flavors |
| Unsalted Butter |
Fat and flavor |
Controls the richness and how it melts |
| Egg Yolks |
Binder and fat |
Adds a dense, fudgy, rich texture |
| Baking Soda |
Leavening agent |
Helps the cookie brown and rise slightly |
| Vanilla Extract |
Scent and aroma |
Bridges the sweetness and adds depth |
The Power of Chilling the Dough
One of the hardest lessons for a hungry baker is that the best cookies aren't made in an hour. They are made over two days. Letting your dough rest in the fridge for 24 to 72 hours is the single best way to upgrade your baking. This "aging" process allows the flour to fully soak up the liquids. When the flour is completely hydrated by the eggs and butter, enzymes break down starches into simpler sugars. This creates a deeper, more concentrated flavor that fresh dough simply cannot match.
Chilling also firms up the fat. Cold dough takes longer to melt in the oven, which keeps the cookies from spreading too quickly. This results in a thicker center and a better texture. If you bake dough immediately after mixing, the whole cookie cooks at the same rate, which is boring. By chilling it, the outside gets a head start on browning while the inside stays cool and soft, giving you that "crispy-chewy" contrast that defines a world-class cookie.
Precision in the Kitchen
The way you shape and place your dough on the pan is a hidden detail many people ignore. Using a spring-loaded scoop ensures every cookie is the same size, so they all bake at the same rate. If you have different sizes on one tray, the small ones will burn before the large ones are done. For a professional look, roll your dough into tall cylinders instead of perfect balls. Tall dough balls take longer to collapse in the heat, which keeps the center soft while the bottom stays in contact with the hot pan to get crispy.
Oven calibration is another common trap. Most home ovens are inaccurate, often running twenty degrees hotter or cooler than the dial says. A cheap oven thermometer will save you from a lifetime of burnt cookies. Additionally, the type of pan you use matters. Thin, dark pans soak up heat too fast and can burn the bottoms. Thick, aluminum "half-sheet" pans distribute heat evenly and are the standard in professional kitchens. If your cookies brown too fast on the bottom, try nesting one baking sheet inside another to create a layer of air for insulation.
Fixing Common Cookie Mistakes
Even with the best plan, things can go wrong, but most failures are easy to fix. If your cookies turn out like puffy little cakes, you likely used too much flour or over-whisked your eggs. When you beat eggs and sugar too hard, you trap too much air, which makes the dough rise like a cake. To keep cookies dense and fudgy, mix the butter and sugar just until combined. If your cookies are greasy and flat, your butter might have been too warm when you started, or you didn't measure the flour correctly.
Some people think more baking soda is always better, but too much can leave a metallic, soapy taste. It can also cause cookies to puff up and then deflate quickly, leaving them wrinkled. If you want more "crinkles" on top, try the "pan-banging" trick. This involves lifting the baking sheet a few inches and dropping it against the oven rack a few times while baking. This makes the dough collapse on itself, creating beautiful, crispy ripples.
The Art of Cooling
The final moments are where many people go wrong. A cookie should actually look slightly underdone when you take it out of the oven. Because the metal pan is still hot, the cookies will keep cooking for several minutes. This is called "carry-over cooking." If a cookie looks perfectly done in the oven, it will be hard and overcooked by the time it cools. Aim for golden edges and a center that still looks a little pale and soft.
Once they are out, a light sprinkle of flaky sea salt can make the cookies taste even better. The salt provides a nice crunch and balances the rich chocolate. Let the cookies sit on the hot pan for five minutes to firm up, then move them to a wire rack. If you leave them on the pan too long, the bottoms will get soggy from trapped steam. A rack allows air to move around the cookie, making sure the crisp parts stay crisp and the soft parts stay tender.
Now that you have the blueprint for the ultimate chocolate chip cookie, you are in charge. Baking isn't just a list of strict rules; it is a balance of factors you can change to fit your own taste. Whether you like a thin, toffee-like wafer or a thick, soft mountain of dough, you now have the tools to make it happen. Bake with confidence, trust the science, and remember that the best part of baking is the "research" that ends with a warm kitchen and a perfect treat.