Why making your own jam changes everything, and why you will love it
Making jam is not just turning fruit into a sweet jar, it is capturing a slice of the season and saving it for the gray days. The scent of a saucepan gently simmering, the color thickening, and that first little spoonful test are part of a kind of kitchen alchemy that brings cooking to life. It is at once simple and almost scientifically magical, where everyday ingredients join to create a unique texture and flavor.
Many people imagine jam-making is complicated, that it requires exotic ingredients or hours by the stove - that is a misconception to correct. In reality, with a few basic rules and a bit of attention, you can get excellent results in an hour or two, depending on the fruit. And afterward you get the priceless advantage of knowing exactly what is in your jars, no odd additives and no hidden sugars.
Beyond technique, making jam is a way to slow down and enjoy a little homemade ritual. It is a generous gesture, perfect for gifts, and a sustainable way to use overripe fruit that might otherwise be thrown away. Let me guide you step by step, with clear explanations, practical tips, and a dash of friendly humor so you end up a bona fide jam maker.
Choosing your fruit - season, ripeness, and the flavor you want
Picking the right fruit is the first decision that determines your jam's success. Use seasonal, ripe fruit, but not overly bruised, because overly pulpy fruit can lengthen cooking time and ruin the texture. More aromatic fruits make more expressive jams, so feel free to experiment with different varieties or blends to find your signature.
A fruit’s makeup - water content, acidity, natural pectin - varies a lot and that determines the recipe. For example, currants or apples are high in pectin and set easily, while strawberries or cherries often need added pectin or longer cooking. Understanding these traits will help you avoid disappointments and adjust sugar and cooking time.
Finally, think about the flavor result you want - a glossy, sweet jam for morning toast, a firmer jelly for cakes, or a tangy preserve to pair with cheese. Your choice of fruit and its ripeness will naturally steer the taste, without always resorting to maximum sugar.
Essential ingredients and the little science behind each
Three ingredients play the main roles in jam: fruit, sugar, and acid. Sugar preserves, flavors, and helps the set by interacting with the fruit’s pectin. Acid, often lemon juice, promotes the formation of a pectin network by adjusting pH; without it, some jams stay too runny.
Pectin is the key molecule that turns fruit syrup into a firm gel. It is naturally present in skins and certain fruits, but it can also be bought as powder or liquid to help low-pectin fruits. Note that commercial pectin has strict usage rules, since it reacts to sugar percentage and acidity, so follow the instructions or learn to adjust proportions.
Cooking does more than evaporate water - it concentrates sugars, helps release pectin, and develops flavors through a gentle Maillard reaction and other chemical changes. Too short a cook leaves a jam runny, while too long can over-caramelize and darken the fruit.
The simple equipment you need to get started
You do not need exotic tools to make jam. A large heavy-bottomed saucepan, a wooden spoon, a kitchen thermometer, and glass jars with sterilizable lids are the basics. The heavy bottom prevents hot spots and burning, and a thermometer lets you check setting temperature more precisely than a visual test.
A skimmer or small sieve is useful for removing foam or for making a clear jelly. For seeded or very soft-skinned fruit, a food mill can puree the pulp cleanly. A precise scale and a funnel for filling jars make the process tidy and repeatable.
If you plan to make jam regularly, a water bath for sterilizing and wide-mouth jars can simplify things. But for starting out, well-cleaned recycled jars and simple racks for cooling the jars will do just fine.
Step-by-step process, from maceration to finished jar
Always begin by washing and preparing your fruit, removing stems, tough skins, and stones as the recipe directs. Then weigh the fruit and sugar if the recipe asks, because the fruit-to-sugar ratio is key. Maceration - letting fruit and sugar rest for a few hours or overnight - lets the sugar partially dissolve and draw out juices and aromas, shortening cooking time.
During cooking, bring the mixture gently to a boil, then maintain a steady simmer. Stir to prevent sticking and skim foam if needed. Cooking time varies, use a thermometer or a setting test; the goal is a thick consistency when the jelly cools.
Once you have the desired texture, skim, fill hot jars, seal immediately, then invert them briefly to help seal if you use the thermal sealing method. Let cool completely at room temperature before storing.
How to test the set - reliable, stress-free tricks
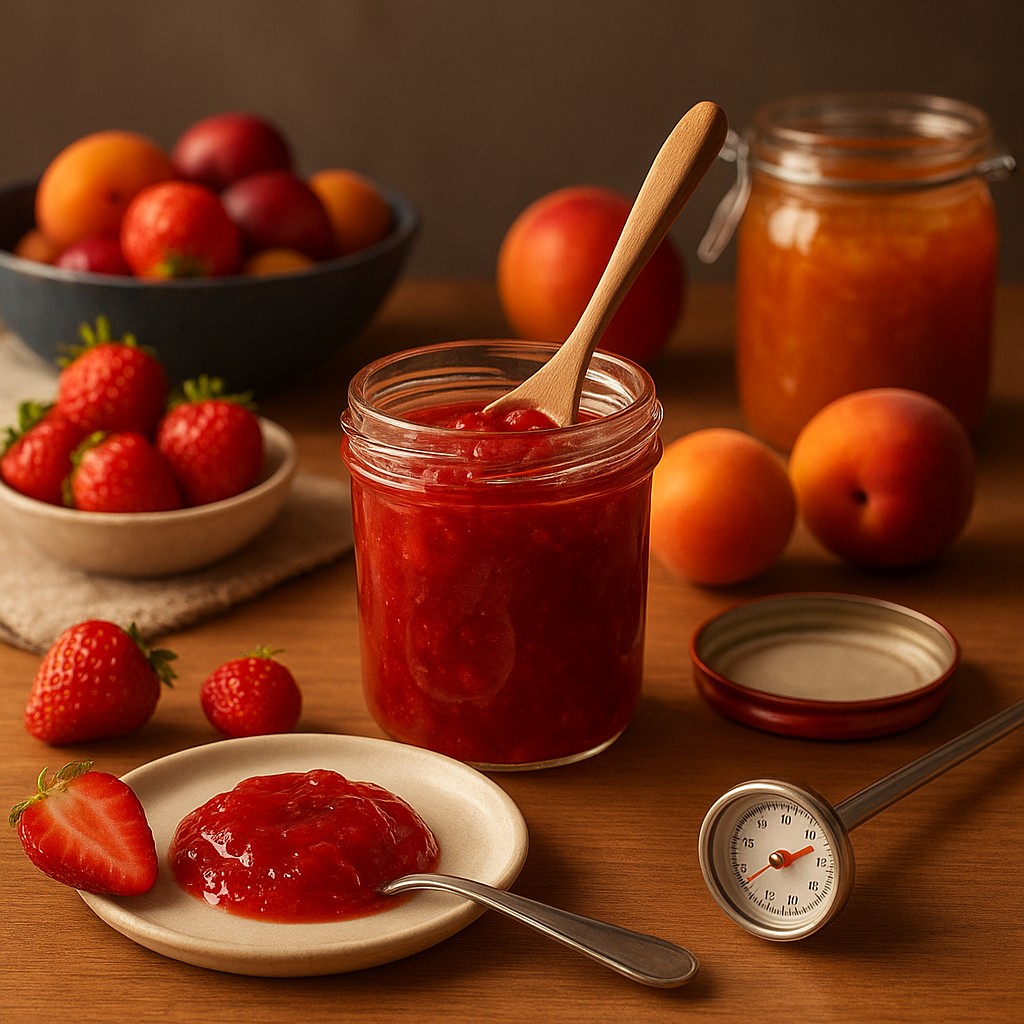
There are several ways to test the set, pick the one you prefer. The spoon-on-a-plate test is classic: drop a small amount on a cold plate, wait a minute, then tilt - if the jam firms and does not run quickly, the set is good. It is simple and visual, but needs a well-chilled plate to be reliable.
The temperature test is precise: jam is usually ready around 104-105 °C at the top of the boil, depending on altitude. A kitchen thermometer makes the process repeatable and reassuring. Also watch texture and how it behaves on a spoon - if it coats and leaves a trail, that is a good sign.
Remember jam sets as it cools, so it is better to stop cooking a bit before the perfect set and let it rest a few minutes off the heat. This prevents overcooking and loss of aroma.
Comparison table to choose fruits and adjust the recipe
| Fruit |
Natural pectin |
Acidity |
Common adjustment |
| Apple |
High, especially in the skin |
Medium |
Cook alone or mix, little added pectin needed |
| Currant |
Very high |
High |
Sets quickly, watch the very tart flavor |
| Strawberry |
Low |
Low |
Add pectin or cook longer, lemon advised |
| Apricot |
Medium |
Low to medium |
Good balance, watch cooking to avoid bitterness |
| Raspberry |
Low |
Medium |
Pick for flavor, often needs pectin or longer cooking |
| Citrus (quince, orange) |
High (in peel) |
High |
Ideal for marmalades, use zest for extra pectin |
This table summarizes what to adjust - sugar, time, or added pectin - so you know what to change for each fruit.
Easy basic recipes, with creative variations
Here are three starter recipes covering different fruit profiles and techniques. For each, always begin by weighing precisely.
- Classic strawberry jam: for 1 kg of cleaned strawberries, add 800 g sugar and the juice of half a lemon. Macerate 2 hours, then cook 10-20 minutes to 104-105 °C or until the set test succeeds. Jar while hot.
- Quick apricot jam: for 1 kg pitted apricots, use 700-800 g sugar and 1 tablespoon lemon juice, macerate 1 hour, then cook 8-15 minutes depending on ripeness. Finish with a spoonful of vanilla or almond to personalize.
- Orange marmalade: zest and remove the pulp from the citrus, cut into thin strips, for 1 kg fruit use 800-900 g sugar. Longer cooking softens the bitterness, partial straining can give a smoother texture.
Vary recipes by adding spices, fresh herbs, or replacing part of the sugar with honey for a different note. For a lighter option, try chia jam: blend 500 g cooked fruit with 2-3 tablespoons chia seeds and 2-3 tablespoons maple syrup or honey, let thicken 20 minutes in the fridge.
Sterilization, food safety, and shelf life
Canning safety is not a myth, it is methodical. Clean your jars thoroughly, boil them for 10 minutes or put them in a hot oven, then fill them hot to avoid glass cracking. Proper sealing prevents contamination; well-sealed jars without dents can keep for several months away from light.
Store away from heat and light, ideally in a cool cupboard. Once opened, keep in the refrigerator and use within a few weeks. Always check smell and appearance before eating; mold means discard the contents and scrub the jar thoroughly.
If you do frequent canning, learn about extended water-bath rules to ensure full sterilization based on the product’s acidity. Jams are usually acidic thanks to fruit and lemon, so they are less risky than other preserves, but cleanliness and caution are essential.
Common mistakes and myths to forget
A persistent myth is that the more sugar the better the jam. In reality, sugar works as a preservative and texturizer, but it can mask fruit flavor and make the product overly sweet. Adjust the amount to the fruit and your taste, and know that excellent jam can be made with less sugar if you control cooking and use a little pectin.
Another common mistake is confusing boiling with gentle cooking. A too-violent boil can drive off volatile aromas and give a rubbery texture. Conversely, too gentle or too short cooking can leave jam liquid and susceptible to fermentation.
Finally, many people think jam sets only because of sugar. Without enough pectin or acidity, it will stay runny despite a lot of sugar. That is why the fruit-pectin-acid combination is central, and why the earlier table helps you anticipate adjustments.
Tips to tweak texture and intensity like a pro
If your jam is too runny, reduce the cooking liquid slightly or extend the cooking by a few minutes while watching the color. You can also add powdered pectin, dissolved according to instructions, or stir in cooked grated apple to boost pectin naturally. For a chunkier texture, roughly crush the fruit before cooking and avoid straining.
To amplify flavor, concentrate the fruit with a short gentle pre-cook, add a bit of zest, or macerate fruit with aromatic ingredients like vanilla, cardamom, or a splash of liqueur. A tiny pinch of salt can balance sweetness and highlight flavors.
Always test changes on a small batch before applying them to the whole recipe. Jam is forgiving, but some tweaks have a bigger impact than you expect.
Ideas for using your jars and sharing the joy
Homemade jams make heartfelt, tasty gifts, dressed up with a handwritten label and a ribbon. Use them in baking, to glaze tarts, swirl into cakes, or serve with aged cheeses. Vary uses - a tangy jam is wonderful with yogurt, a very sweet jam is an excellent pancake topping.
Keep a notebook for each trial - sugar amount, cooking time, temperature, and tweaks - so you can improve future batches and reproduce successes. Taste memory is great, but a little record makes your experiments useful.
Final recommendations before you start your first batch
Start modestly, with 1 to 2 kg of fruit, so you will not be discouraged if a jar does not turn out perfectly. Read a recipe, but adapt it; jam-making welcomes creativity. Keep a thermometer and a little pectin on hand if you work with low-pectin fruits.
Learn to listen to your kitchen, smell the aromas, watch the texture and take notes. With each jar you become more precise and confident. And remember, even less successful jams are often delicious on buttered bread.
Go ahead, open jar season with curiosity and confidence
Making your own jam is a small accessible art, a tasty blend of technique and intuition. By understanding the roles of fruit, sugar, pectin, and acid, you turn simple ingredients into a delicious preserve signed by your hand. Enjoy the process, experiment without fear, and share your jars around the table, because the best jam is the one that tells a story.
Start today: pick a seasonal fruit, weigh, macerate, watch the cooking, test the set, and seal your jars. Soon you will have a collection of flavors that brighten breakfasts, desserts, and gifts. Most of all, you will have learned a useful, old, and joyful skill. Happy jam-making, and do not forget to lick the spoon.