Imagine standing in your backyard with a spool of copper wire, realizing you are about to tap into a medium that has carried presidential addresses, the raw energy of rock and roll, and the late-night whispers of travelers for a century. There is a genuine magic to the AM band. While the internet relies on a cold web of glass fibers and specialized servers, AM radio is pure physics dancing through the air, bouncing off the ionosphere and shimmering across the horizon. By building your own antenna, you aren't just tinkering with hardware; you are joining the electromagnetic conversation that connects us all.
Before you start driving stakes into the ground or stringing wire across your roof, you must understand that your radio station begins where creativity meets the law. In the United States and many other countries, strict rules govern how much power you can broadcast without a professional license. For the hobbyist, the "golden ticket" is found in the FCC Part 15 regulations. These rules allow you to broadcast on the AM band as long as your transmitter power is very low and your entire antenna system - including the lead-in wire and the broadcasting element - does not exceed three meters (about 9.8 feet) in length. While that sounds short, a bit of clever engineering can make that tiny antenna reach across your entire neighborhood.
The Invisible Physics of Medium Wave
To build an effective antenna, you first need to understand the Medium Wave (MW) spectrum, the home of AM radio. Unlike high-frequency FM signals that act like laser beams and stop when they hit a building, AM signals are the marathon runners of the radio world. They have incredibly long wavelengths, sometimes measuring hundreds of feet from one wave peak to the next. Because the waves are so long, a "perfect" antenna would technically need to be hundreds of feet tall to match the signal. Since most of us don't have an Eiffel Tower in the backyard, we use physics workarounds to trick the electricity into thinking the antenna is much longer than it actually is.
This is where "resonance" comes in. Think of an antenna like a swing set. If you push the swing at just the right moment, it goes higher with very little effort. If you push at the wrong time, you fight the motion and waste energy. An antenna works the same way; it needs to be "tuned" so the electricity flows back and forth at the exact frequency of your broadcast. When you are restricted to a short wire for a long wave, the antenna naturally resists the flow of energy. We fix this with a "loading coil," which is a long piece of wire wrapped into a tight spiral. This coil slows down the electricity, making it feel like it has traveled a much longer distance. This effectively "tricks" the radio waves into launching off a three-meter wire as if it were a massive broadcast tower.
Gathering Your Tools
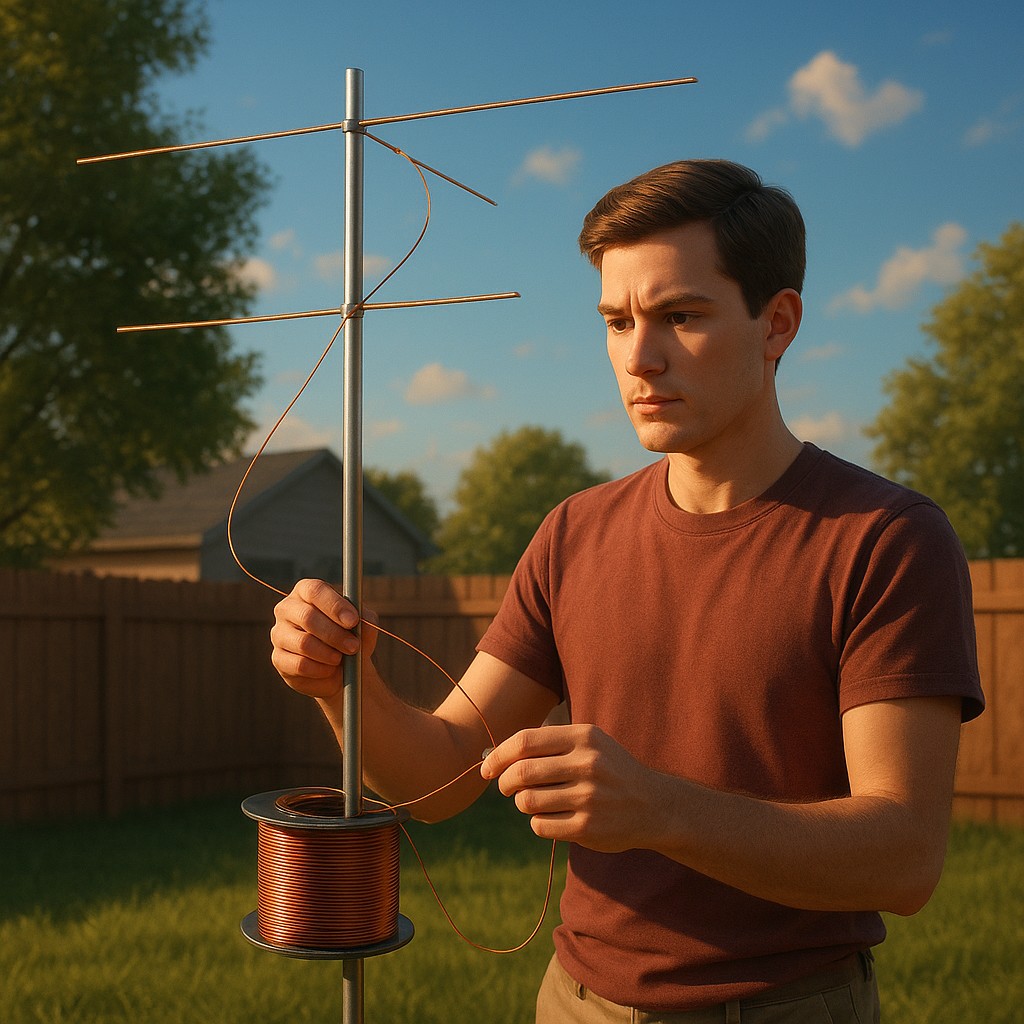
Building an antenna doesn't require an engineering degree or a trunk full of expensive gadgets. You only need a few basic supplies from a local hardware store. The heart of the system is the wire. Solid copper wire is best because it conducts electricity perfectly and holds its shape, but stranded wire works fine if that’s what you have. You will also need "insulators" - materials like plastic or ceramic that do not conduct electricity - to prevent your signal from leaking into trees or the side of your house. Even a piece of PVC pipe or a heavy-duty plastic water bottle can work as a DIY insulator in a pinch.
Construction starts with the "radiator," the part of the antenna that actually sends the signal into the air. For a home setup, a vertical whip is usually the best choice because it sends signals out in all directions equally. You also need a "ground system," the unsung hero of radio. Think of an antenna like a battery; it needs a positive and a negative side to work. The wire in the air is the positive side, and the earth itself acts as the negative side. By driving a copper rod into the dirt and connecting it to your transmitter, you complete the circuit. The better your ground connection, the more power your signal will have, and the less likely you are to interfere with your neighbor’s electronics.
Designing a Part 15 Antenna System
When working within the legal limits of Part 15, every inch counts. Since you can't just toss a hundred feet of wire into a tree, you have to optimize your limited space. A high-performance hobbyist antenna usually consists of a vertical element, a loading coil for resonance, and a solid ground plane. The table below explains how these parts work together.
| Component |
Primary Function |
Ideal Material |
| Vertical Radiator |
Launches the signal into the sky. |
Copper pipe or thick aluminum wire. |
| Loading Coil |
Electronically "lengthens" the antenna to match the frequency. |
Enameled copper wire wrapped around PVC. |
| Ground System |
Provides a return path for electricity and stabilizes the signal. |
Copper-clad steel rod driven into moist soil. |
The loading coil is usually placed at the base of the antenna. To make one, take a three-inch PVC pipe and wrap dozens of turns of copper wire around it. By "tapping" into different points on this coil - moving your connection wire up or down the wraps - you can fine-tune the antenna to your chosen frequency. This is like tuning a guitar string; you are looking for the "sweet spot" where the transmitter’s energy is fully absorbed by the antenna rather than bouncing back into the equipment, which can cause overheating.
Mastering the Ground and the Sky
A common mistake is thinking the antenna does all the work. For AM broadcasting, the ground beneath your feet does half the heavy lifting. If you live in an area with sandy or dry soil, your signal will struggle because dry earth is a poor conductor. To fix this, veterans use "radials." These are long wires buried an inch or two under the grass, spreading out from the base of the antenna like the spokes of a bicycle wheel. These wires create a "conductive rug" that helps the radio waves push off the earth and follow the curve of the horizon to reach distant listeners.
While the ground handles the "push," the vertical wire handles the "reach." If you broadcast from a basement, your signal will be trapped by concrete and dirt. For the best results, mount your three-meter antenna as high as possible, such as on a wooden fence or a plastic pole on your roof. Just remember that the three-meter limit includes the wire connecting your transmitter to the antenna if that wire also radiates a signal. Using a "shielded" cable, like the coaxial cable used for TV, lets you move the signal from your indoor studio to your outdoor antenna without the cable counting toward your length limit. This lets you keep your gear inside while your signal enjoys the height of your backyard.
Staying Neighborly and Avoiding Interference
As you start your station, you will find the airwaves are crowded. AM radio is sensitive to "noise" from modern electronics. LED bulbs, phone chargers, and even refrigerators can create a buzzing sound that drowns out your voice. To find a frequency, use a standard AM radio to "scout" the dial. Look for a wide gap of pure static. In North America, AM stations are spaced 10 kilohertz (kHz) apart (like 1290, 1300, 1310). If you pick a spot directly between two strong local stations, you will likely run into interference. Aim for the "quiet spots" at the high end of the dial, usually above 1600 kHz, where there is more room for experimenters.
Safety is also part of being a good neighbor. Never build an antenna near power lines. If a storm knocks your wire onto a high-voltage line, it could be fatal. You should also install a "lightning arrestor" or simply disconnect your antenna and ground the wire when a storm approaches. A tall piece of metal is an invitation for lightning, and while catching a bolt makes for a great story, it is a terrible way to end a hobby.
From Hardware to the Heart of the Show
Once your antenna is built and your coil is tuned, the real work begins: the content. People often get so caught up in technical details that they forget an antenna is just a megaphone. The magic happens when you flip the switch and realize that someone blocks away - or miles away on a clear night - is hearing your music or your ideas. You are no longer just a person with a wire in the yard; you are a station manager and a voice in the dark.
Building an AM antenna is a journey back to the roots of communication. It teaches you that the world is more connected than it seems. With a little wire and some curiosity, you can claim a tiny slice of the sky. As you launch your show, remember that every legendary broadcaster started with one listener and a signal that barely cleared the fence. Your DIY antenna is the bridge between your ideas and the world’s ears, so build it with care, tune it with patience, and speak with confidence. Happy broadcasting!